


CryEngine SDK Sandbox 3 Documentation — Editor Quick Tips
Let me introduce you a quick list of useful shortcuts, tips and tricks for recently released CryEngine 3 SDK and its editor — Sandbox 3. While this tips aren't unique and all of them available as "Tip of the day" directly in Sandbox 3 Help menu, I think it's still may be somewhat useful to have them all gathered in one place. Later I will probably update this article with some examples and screenshots.
So here it is — a list of tips for Sandbox 3, as the part of useful CryEngine 3 SDK Documentation.
- You can toggle snap to grid by pressing G.
- Ctrl+Shift+Clicking somewhere with an object selected quickly moves the object to that position when in move mode.
- Pressing M will open the material editor.
- Show and Hide helpers is bound to Shift + Space by default.
- Enable AI/Physics is bound to Ctrl + P by default.
- You can save a viewport location by pressing Ctrl + F1 through F12 and go to that position using Shift + F1 through F12.
- You can link objects together by using the link command on the top menu of the editor.
- Pressing 1 through 5 on the keyboard will cycle through brush operations such as move or scale.
- You can simply bind keyboard shortcuts to editor functions by going to Tools --> Customize Keyboard.
- Pressing H will hide the selected objects, Ctrl + H will unhide all hidden objects.
- Pressing F will freeze the selected objects, Ctrl + F will unfreeze all frozen objects.
- Pressing F3 will toggle wireframe view.
- Camera/terrain collision can be toggled using Q.
- Pressing Ctrl + C with an object selected will clone that object.
- Toggle the console by pressing the tilde (~) key.
- You can dock windows by dragging them onto the blue helpers that appear when you grab a window by the titlebar.
- You can select materials by clicking on the dropper icon in the material editor and then clicking on the material you wish to select.
- You can right click on the previewer in the material editor and change the model to different shapes and background colors.
- Materials can be saved in the local level folder for re-distribution.
- Always keep your level free of errors and immidiately fix errors reported by the error report screen when you load your level.
- You must always export to engine before you can run it in pure game mode. (File --> Export to engine)
- You must re-triangulate AI before playing your level in game mode. (AI --> Generate all navigation)
- You must always re-generate surface textures after you finish painting the terrain. (File --> Regenerate surface textures)
- Press Ctrl + G or F12 to go into the Game mode, ESC to return to Editing mode.
- Quickly rebuild a level (without regenerating the ground texture) by pressing Ctrl + E.
- Hold down the third mouse button and drag to move the camera up and down.
- Missing objects are represented by a bright yellow sphere.
- Hold Alt + Middle Mouse button to rotate around an object.
- Select multiple objects by holding Ctrl.
- You can place multiple instances of vegetation by holding Shift and clicking on the terrain.
- A number of useful commands can be found in Tools --> User commands. This can also be dragged and docked to the main window.
You May Also Be Interested in:
About the Author: Sergey “Treidge” Danchenko
- 11975 reads
- Русский
I've created video animation rendered by Cryengine in Realtime. it's very powerful engine to produce Animation in fast way! Love CRYENGINE!
Screencapture :
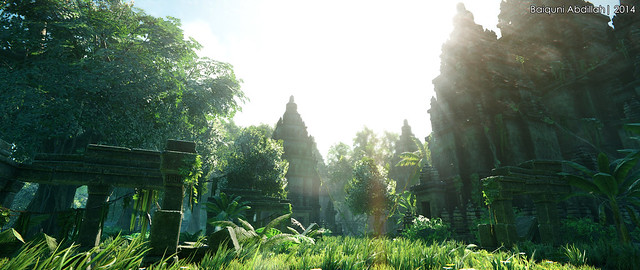
WATCH VIDEO HERE : https://www.youtube.com/watch?v=sDf6y_wzUPc